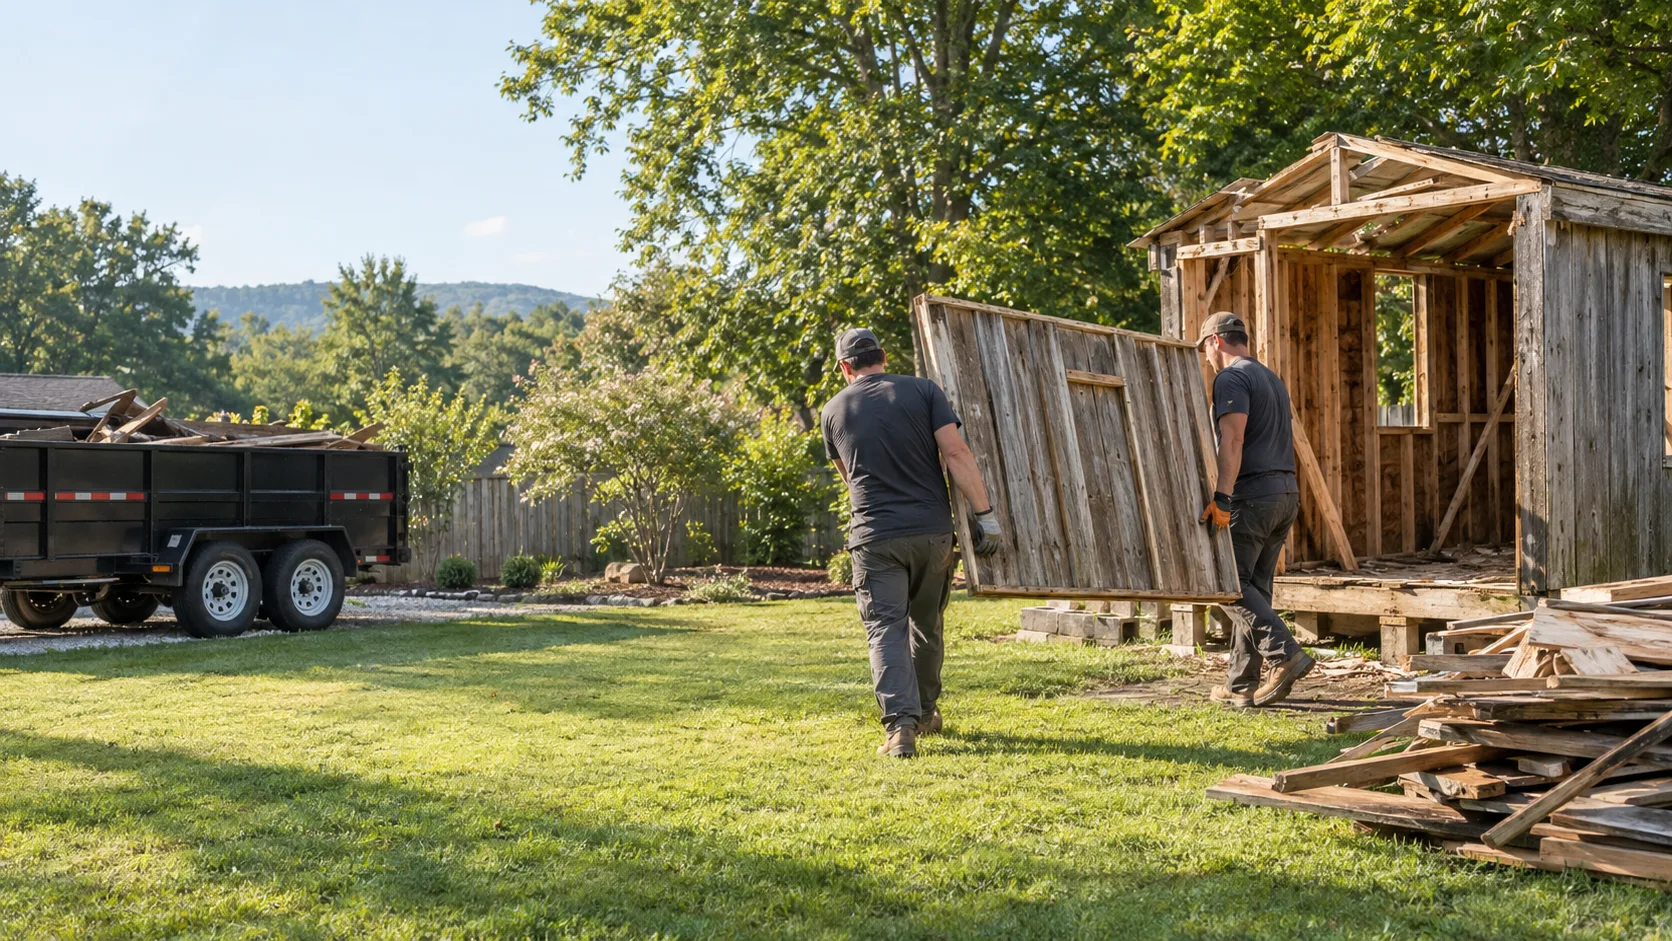
The most useful shed-removal photos include the shed and the route out. A clear access record helps a provider plan labor, tools, and trailer position without guessing.
Measure the narrowest point
Measure the clear width of each gate with it fully open. Include latches, posts, air-conditioning equipment, and shrubs that reduce the usable opening. If there is no gate, describe whether a fence panel can be removed and who is responsible for restoring it.
- Full shed from the front.
- Rear and both side walls.
- The base where it meets the ground.
- The narrowest gate with a tape measure visible.
- The full path from shed to driveway.
- The street and driveway where a trailer may park.
Count changes in level
Note steps, steep grades, retaining walls, soft ground, and drainage channels. A short steep route can be harder than a longer level path. Mention septic lids or buried systems that should not carry vehicle weight.
Look up as well as down
Tree limbs, service drops, and low rooflines can affect trailer placement and panel handling. Mark sprinkler heads, garden edging, and narrow turns along the ground path.
Plan for neighbors and shared access
If the route crosses a shared drive or requires temporary curb space, resolve access before the scheduled work. Keep the plan property-specific; neighborhood conditions can change from one address to the next.
Next step
Use this guide to document the job, then review the backyard shed removal service scope or prepare the details for an estimate conversation.